ITAS is a Timekeeping by Exception system. That means that as an Employee, once you have been set up in the system and do not use leave or earn premium pay, you really don’t have to do anything other than Sign In and Out (if required) and Verify your timecard (if required) at the end of each pay period.
There are some things common to all ITAS screens. These are outlined below so they don’t need to be repeated for each screen or for each Role.
Actions
There are several buttons, indicators and areas in the ITAS screens that have the same meaning regardless of what screen they are on.
| Indicator | Description |
|---|---|
|
|
Validates any changes to the screen and either shows an informational message if there are errors, or sends the changes to be applied. |
|
|
Same as 'submit'. |
|
|
Ignores any screen changes and re-displays the information last saved in the system. |
|
|
Same as 'cancel'. |
|
|
An asterisk (*) next to an enterable field means it is required. |
|
Name: Field is required |
A bolded message below the screen title gives more information on the first error on the screen (if applicable). |
|
|
A bolded exclamation point (!) next to an enterable field means it needs to be corrected. More information on the error may be contained in the message below the screen title. |
Abbreviations
Several abbreviations are used throughout this manual and within ITAS:
| AO | Administrative Officer |
| CON | Contractor |
| EMP | Federal Employee |
| IA |
ITAS Administrator |
| LAO | Leave Approving Official |
| LBCM | Leave Bank Case Manager |
| LR | Leave Request |
| TC | Timecard |
| TK | Timekeeper |
Formats
Information can be entered in various places throughout the system. Unless otherwise noted on the individual screens, the following formats are required:
- Dates must be entered in either MM/DD/YYYY or MM/DD/YY format. Leading zeroes for single digit months and days may be omitted.
- Times must be entered as HH:MM AM/PM. Leading zeroes for hours may be omitted.
- Numeric input must consist of the numbers 0 through 9 with only one decimal point (if needed). A plus or minus sign may also be used if needed. Do not use commas, dollar signs, spaces, or any other characters.
- Hours are a specific type of numeric. Partial hours must be entered in quarter hour increments of “.25”, “.5”, “.75”. Trailing zeroes can be left off.
- Text fields can normally be any combination of letters, digits and special characters.
Screen layout
All ITAS screens are laid out as diagrammed below. Each section contains similar information as outlined.
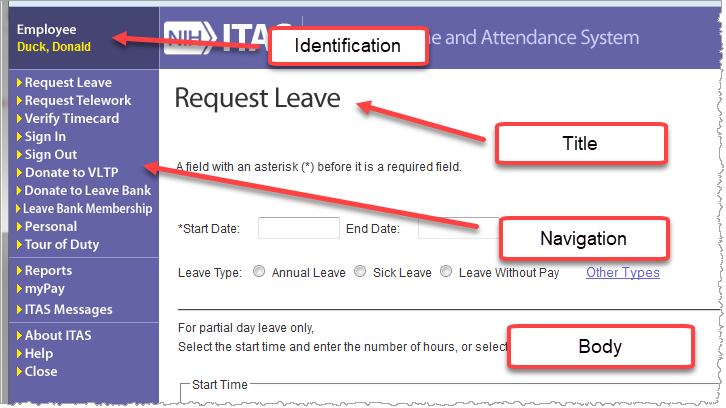
- Identification contains the logged in user’s role and name.
- Left Navigation area is the main navigation. Each entry is an active link to a different screen. As an employee can have more than one role, the left navigation allows the user to change roles.
- Title contains the name of the current screen.
- Body is the main section of the screen where information is shown and can be changed. It also contains the action buttons for the screen.
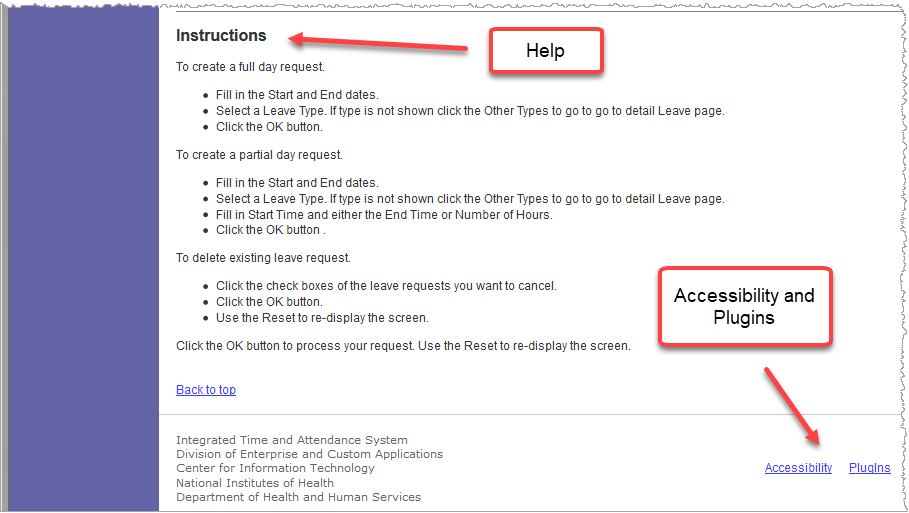
- Help contains instructions on how to use the current screen. As previously mentioned, the Help section has been deleted from most of the screen shots in this manual.
- The Accessibility link provides information for those would like additional help accessing or understanding information on a CIT web page. The Plug-Ins link provides Plug-Ins that may be required for this site.
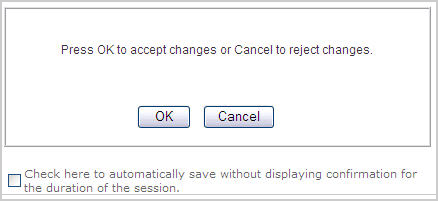
Confirmation screen
A user action that requires changes to data, displays the Confirmation Screen. Click OK to accept the changes or Cancel to disregard them. You can also check the box at the bottom before clicking OK to stop the Confirmation Screen from coming up after every change.
Login
The following screens will be displayed when logging into ITAS from the NIH Website.
NIH login screen

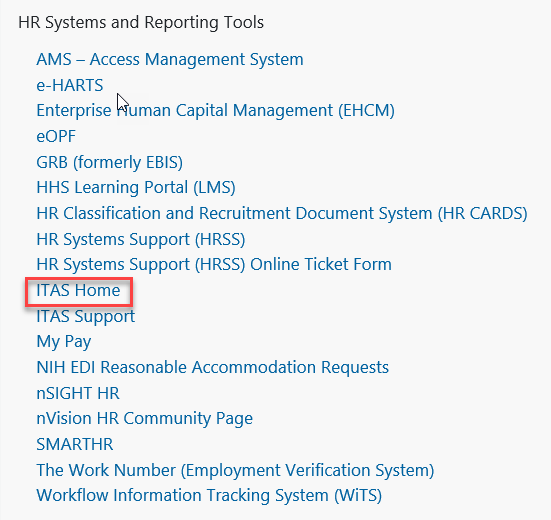
NIH Administrative Hub is displayed

Click the ITAS link under Human Resources
If your ITAS installation has not been set up under Single Sign-On (SSO), you will see this screen after clicking the link to get to ITAS. Enter your ITAS Login ID (as assigned) and your password and click Submit to access the application.
ITAS login screen

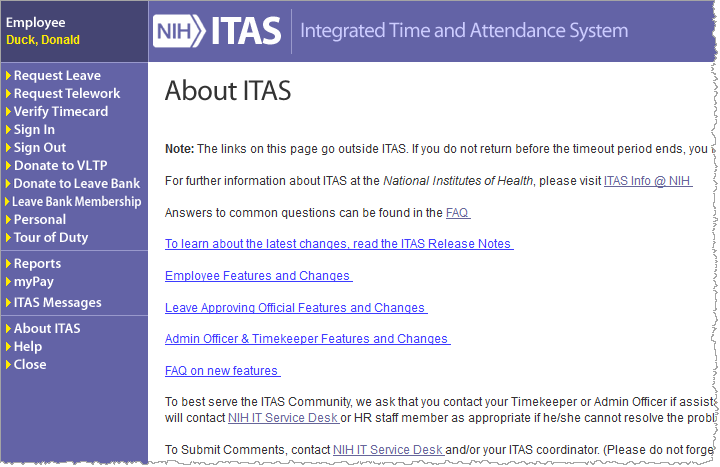
About ITAS
Clicking the About ITAS link in the left navigation area displays a screen with several links to useful information. These links all contain information specific to the ITAS system. Use this as a first resource for any questions about ITAS.
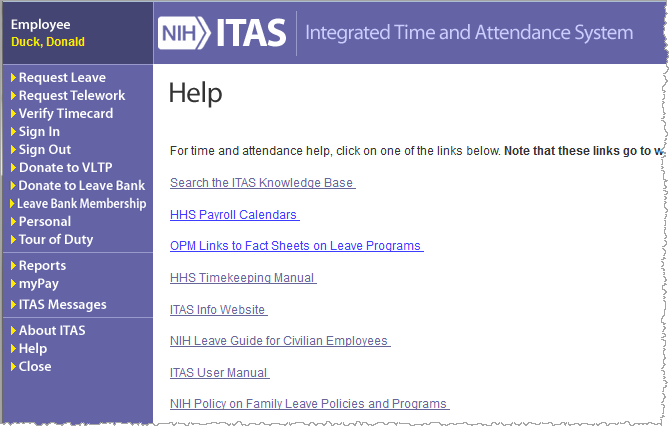
Help
Clicking the Help link in the left navigation area displays a screen that has additional links to useful information. These links provide information about overall rules and regulations. Use this as a resource for any questions about timekeeping rules and regulations, leave types, department policies, etc.
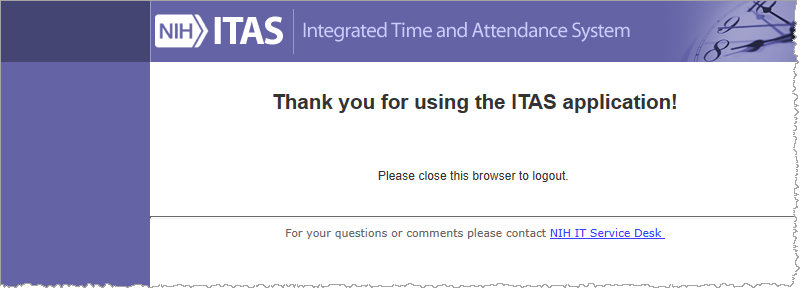
Close
Clicking the Close link in the left navigation area logs you out of ITAS. This screen is displayed to confirm you have logged off the application.
Roles
Employee (federal)
All Federal employees in ITAS are defined as employees (EMP). The EMP role allows you to perform the following functions:
- Request Leave
- Request Telework
- Verify Timecard
- Sign In/Sign Out
- Donate to VLTP (Voluntary Leave Transfer Program)
- Donate to Leave Bank
- Leave Bank Membership
- View Your Personal Information
- Request Tour of Duty Changes
- Execute Reports
- View Payroll Information via the myPay link (this is not a part of ITAS)
Contractor (non-federal employee)
The Contractor role allows you to perform the following functions:
- View Your Personal Information
Leave Approving Official (LAO)
The LAO role allows you to perform the following functions:
- Approve Leave Requests
- Approve Timecards
- Approve For (Act As) Other LAOs
- Approve Tours
- Designate Alternates
- Manage Telework
- Approve Telework
- Approve Telework Tour
- Execute Reports
Timekeeper
The Timekeeper role allows you to perform the following functions:
- Act as Alternate
- Modify the following Employee related information:
- Personal
- Payroll
- Tour of Duty
- Options
- Timecard
- Leave Requests
- Telework Requests
- LTP
- Execute Reports
Administrative Officer
The Administrative Officer (AO) role allows you to perform the following functions:
- Modify the following Employee related information:
- Personal
- Payroll
- Tour of Duty
- Options
- Leave Balances
- Timecard
- Leave Requests
- Telework Requests
- LTP
- LB
- You must have the Leave Bank Case Manager role to access the data on this screen.
- Relationships
- Execute Reports
- Add New Employees
- Add Multiple Appointments
- Unseparate Employees
- Add New Contractors
- Unseparate Contractors
- Add New Organizations
ITAS Administrator
The ITAS Administrator (IA) role allows you to perform the following functions:
- Assign AO to SACs
- Change SSNs
Leave Bank Case Manager
The Leave Bank Case Manager (LBCM) role allows you to perform the following functions:
- Distribute Leave Bank Hours to Leave Bank Recipients
- Manage LB Accounts
- Create Leave Bank Accounts
- Edit Leave Bank Accounts
- Close Leave Bank Accounts
- Manage Leave Bank Dues
- Approve Dues
- Deny Dues
- Waive Dues
- Execute Reports
- Leave Bank Balance
- Leave Bank Opt Outs
- Leave Bank
- View Leave Bank Recipient Account Information